On the same day we had our most recent crafternoon , our hostess Pam
gave us a Gocco demonstration and we wanted to share the basic details with you, so you can get inspired and get your GOCCO on!!
(better hurry though, as Riso, the company who makes these great little machines has decided to stop producing them. Get more info about that here).
Basic information:
The Print Gocco will produce professional quality printing that in some ways will out-perform your local printer.
Either by itself or used in conjunction with one of its accessories, the Print Gocco lets you create colorful designs and lettering on paper, card stock, fabric, wood, three dimensional objects and on large or small surfaces. You can even use the imaged master to etch designs on glass. Print your own personalized greeting cards, invitations, T-shirts, wrapping paper, party napkins, stationery (including envelopes), business cards...the possibilities really are endless!
There are essentially three steps to follow:
1. You will first need an original. The original could be made up of hand drawn lettering and graphics or it could be constructed using clip art, output from a computer printer or something you might have photocopied.
2. A master is then prepared on the Gocco Printer using flash bulbs similar to those used in camera flash units years ago. With the original in contact with the Print Gocco master, the heat from the flash bulbs is amplified (increased) wherever there is an image on the original causing tiny openings to occur in the master.
3. The master is uniquely constructed in such a way as to allow you to "sandwich" a layer of ink between the imaged master and a transparent plastic film. The initial supply of ink is sufficient to print 80 to 100 copies (or more) before you would have to add more ink to continue printing additional copies. A thin piece of foam material could be placed between each ink color permitting many colors to be printed at the same time. Positioned back in the Gocco printer, you simply place the card stock or paper on a platform and lower the inked-up master into contact, apply some light pressure and "voila!", you have a beautiful, high detail color print of your original.
_______________________
Here are photos of all the steps:
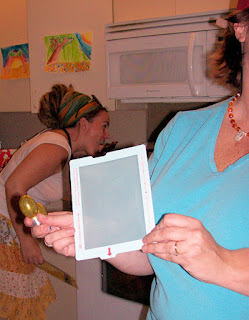
This is the screen (on which you will "burn" your image, then use and re-use to print)
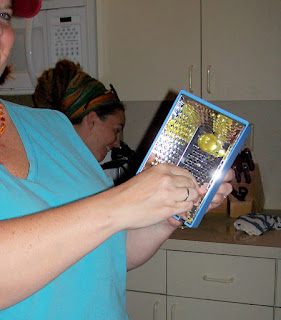
The bulbs used to burn the image on the screen (one time use)
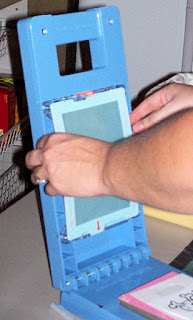
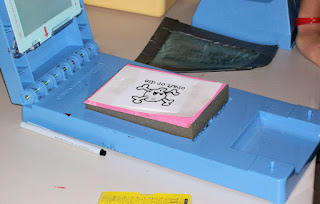
Place new screen on the top portion of the gocco machine....Place your image on the bottom portion of the machine (image facing up towards the screen).
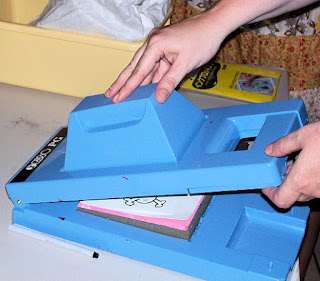
Place the part that contains the bulbs on the very top of the machine, until you click it in place.
Then with your bulbs on, new screen in place and your image facing up...its time to press down, until you see the "flash" of the bulbs and "click" (we suggest you don't look directly at the light, just to be safe).
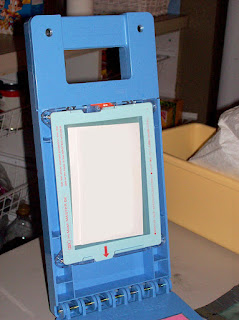
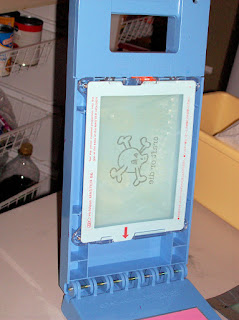
After you've pressed down, go ahead and open the machine.
Left photo: shows how your image has "stuck" to the screen.
Right photo:what the screen looks like after you take the paper off. Now your image is "burned" on the screen - this is your "imaged master".

Take the top with the bulbs off the machine.
Do NOT remove the bulbs right now! They are VERY hot,
so put them on the side where no one can touch them.
Here we see Pam telling Heather NO, you can't touch this!
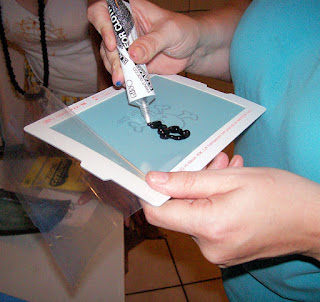
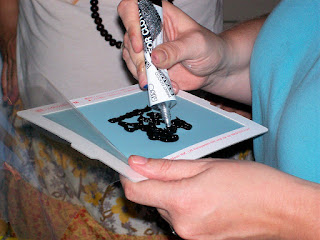
Next, you outline your image with ink...its ok to be generous with the ink, but don't
go overboard...you can always add more afterwards.
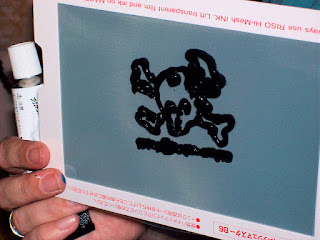
Here is our image inked and ready to go.
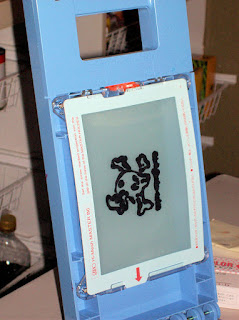
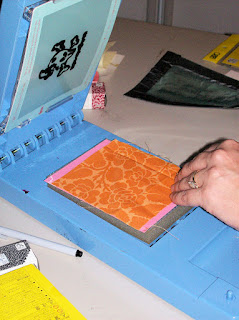
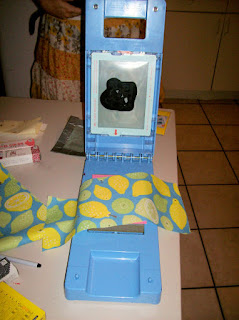
Left photo: place the inked screen back to the top portion of the machine
Right photo: Place your fabric (we used fabric ink) or paper on the bottom.
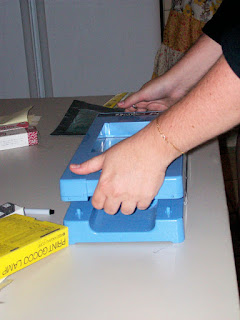
Press down with pressure: not too light, not too hard. It might take a couple of tries for
you to get the right pressure.
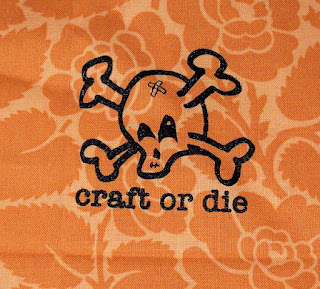
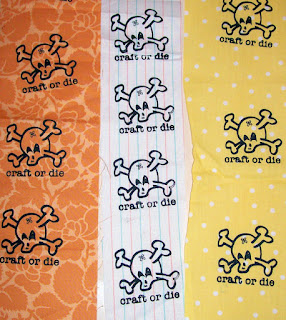
TADA!!! Here is our wonderful "Craft or Die" skull image.
MAG members kick some serious butt!
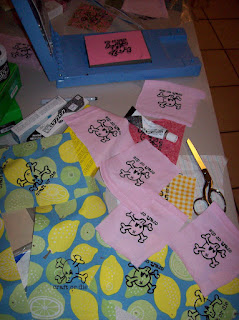
Try different fabrics, papers...go crazy and have fun!
The "imaged master" is capable of printing thousands of copies.
When you're done printing, simply remove the ink from the master and save it until the next time you need more prints.
You can change the ink color and experiment!
Now you know how to GOCCO, so go and get yours and have fun!


